Artificial Golf Green Build in Dallas Texas Timeline
Design and Planning
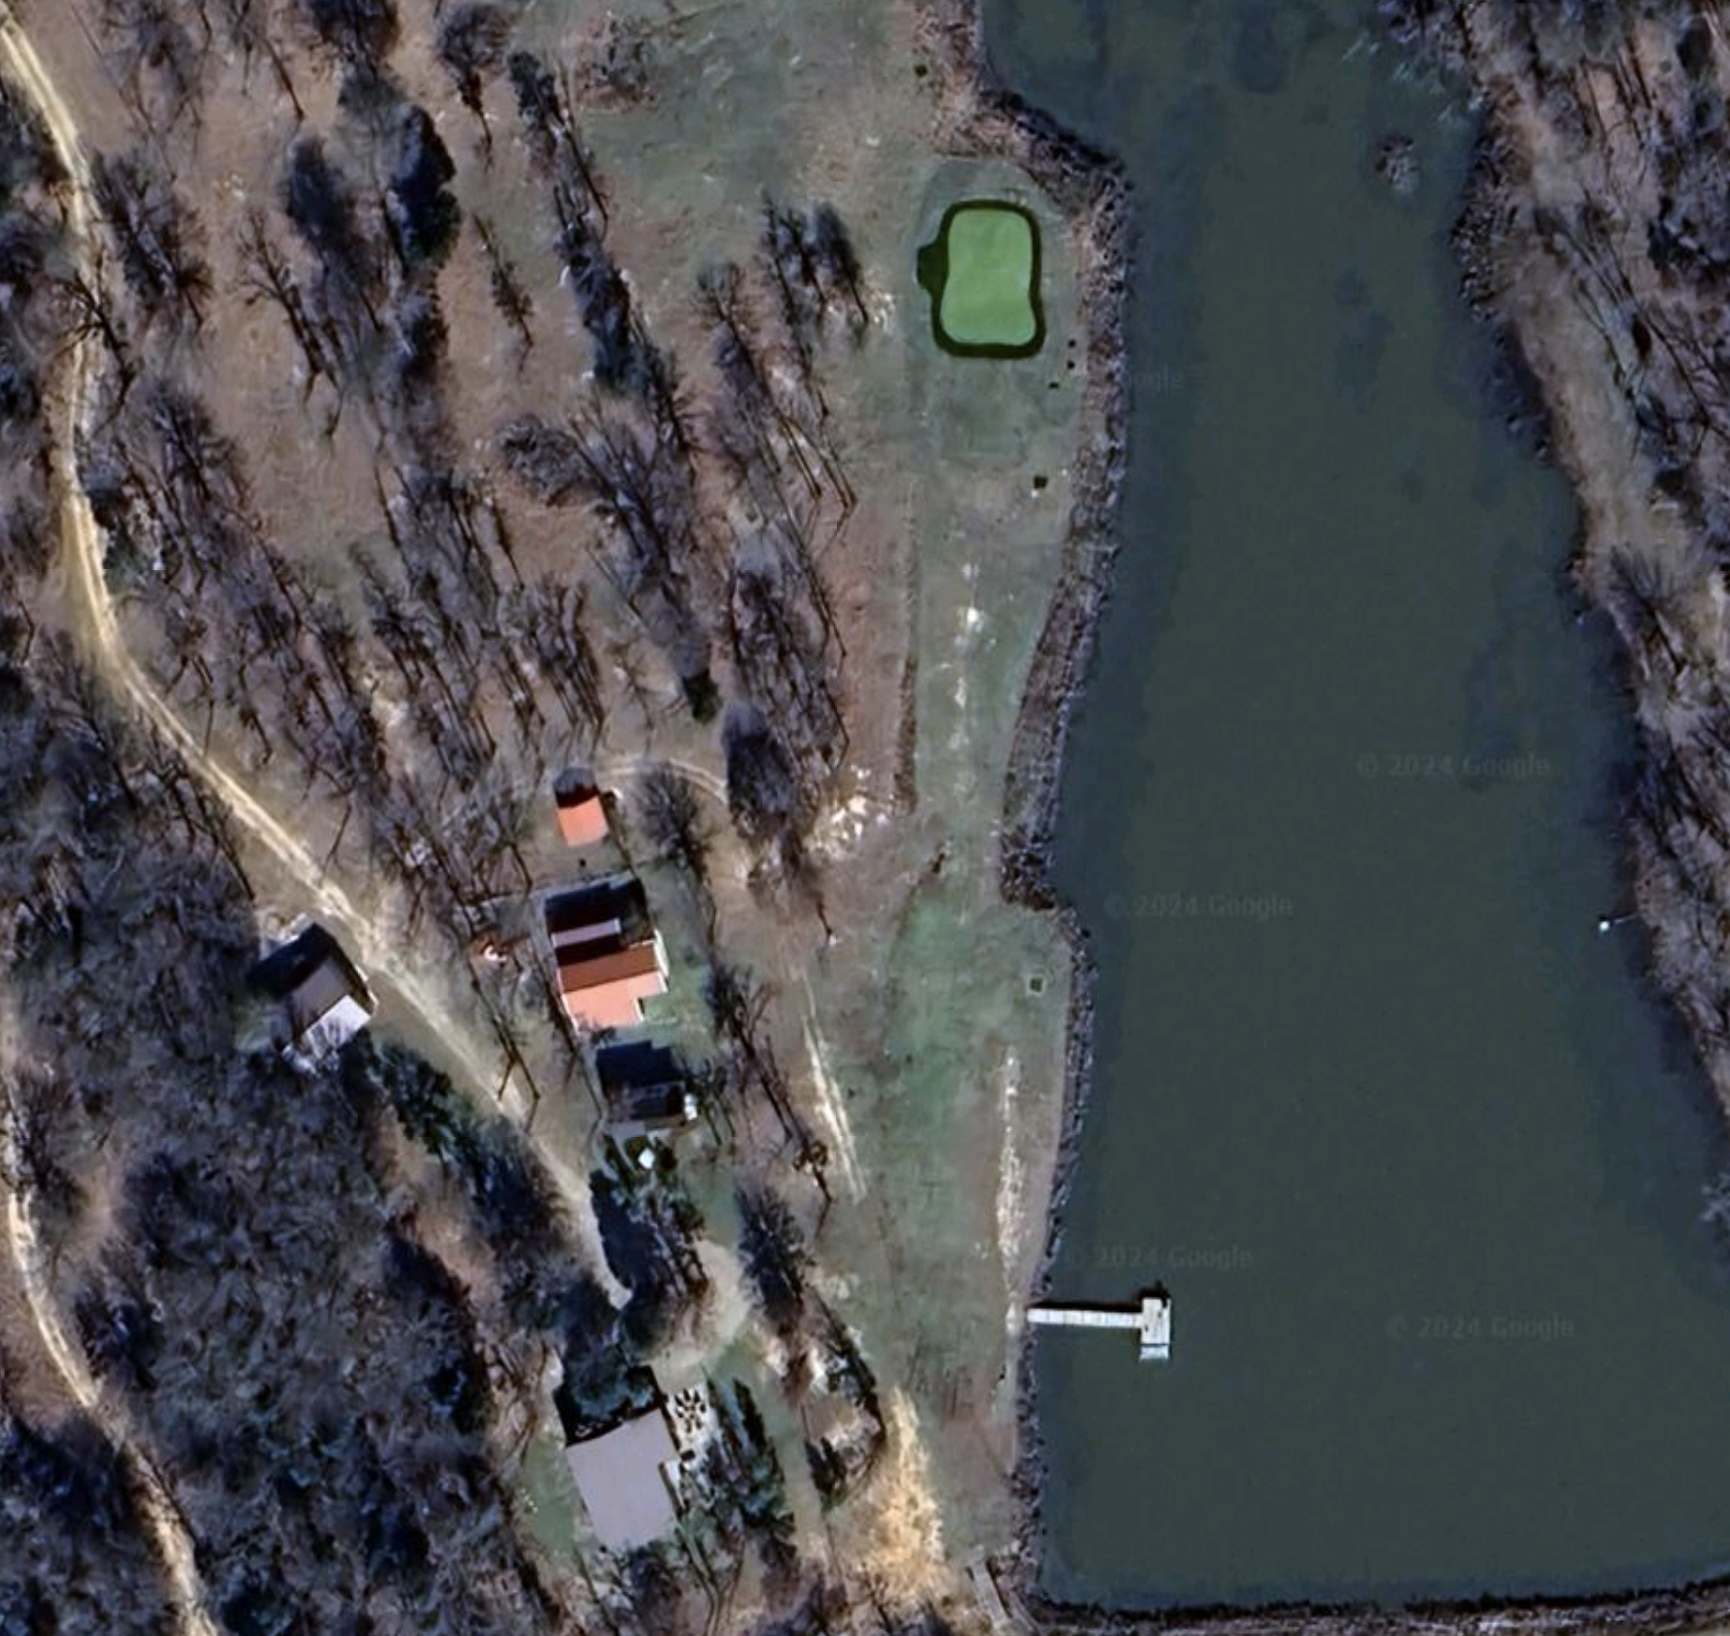
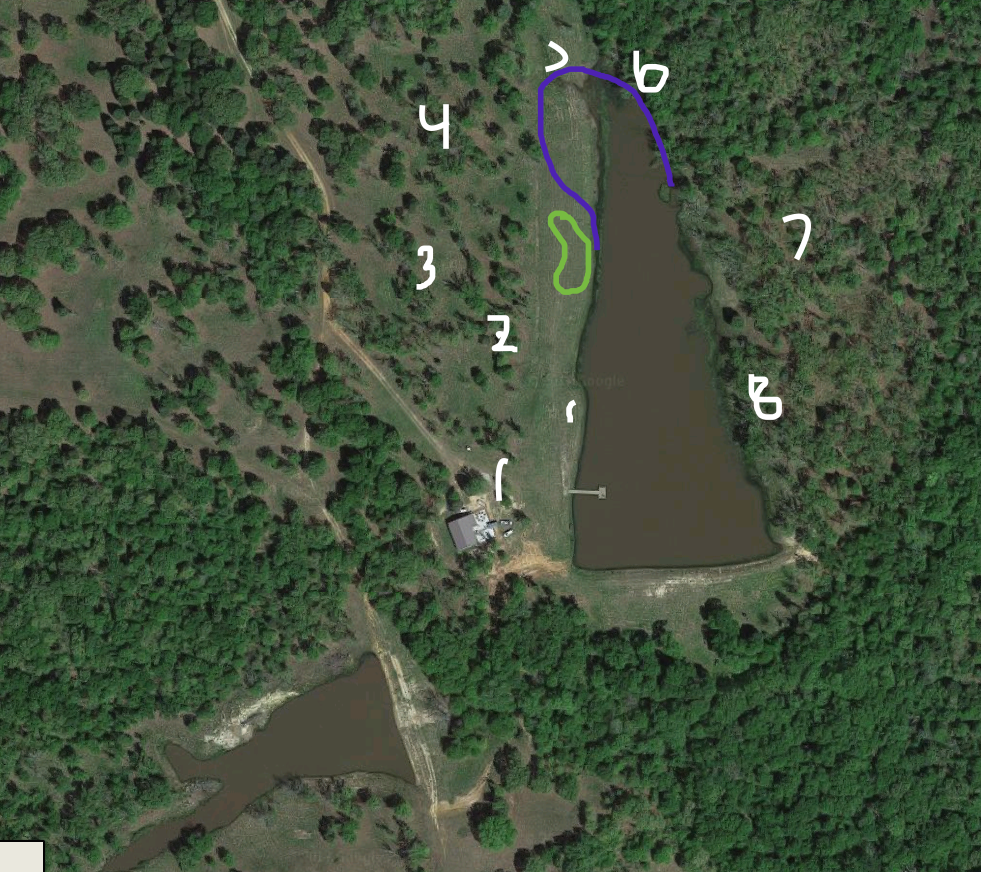
We recently had the privilege of building a 2,400 square foot golf green out in East Texas for a client. The golf green has 3 tiers, 9 holes, and 1,600 square feet of fringe around it. In addition to the golf green, we installed 8 tee boxes that were strategically spread out around the property and 2 ball drop locations. When we first walked the beautiful property and listened to the clients vision of what he was wanting, we began to formulate a plan of how the golf green needs to be designed to be able to hold a par three shot from 180 yards. It is one thing to be able to install a golf green, it is another thing to be able to design a course that will act like a natural golf green and hold a shot from a distance.`
Part of the initial stages of building a golf green out in a remote area is the challenge of finding all of the equipment and materials needed to build it. This particular job required about 100 tons of aggregate, 25 tons of screenings, 67 tons of clean fill dirt, and at least 24,000 pounds of a special infill sand. All of the logistics have to be worked out and timed so that the materials are present when they are needed, but at the same time, don’t get in the way of the progress while they are present. The fact that the location was not showing accurately in Google maps made the logistics a bit more challenging than normal.
Day 1 – Mobilizing and Shaping
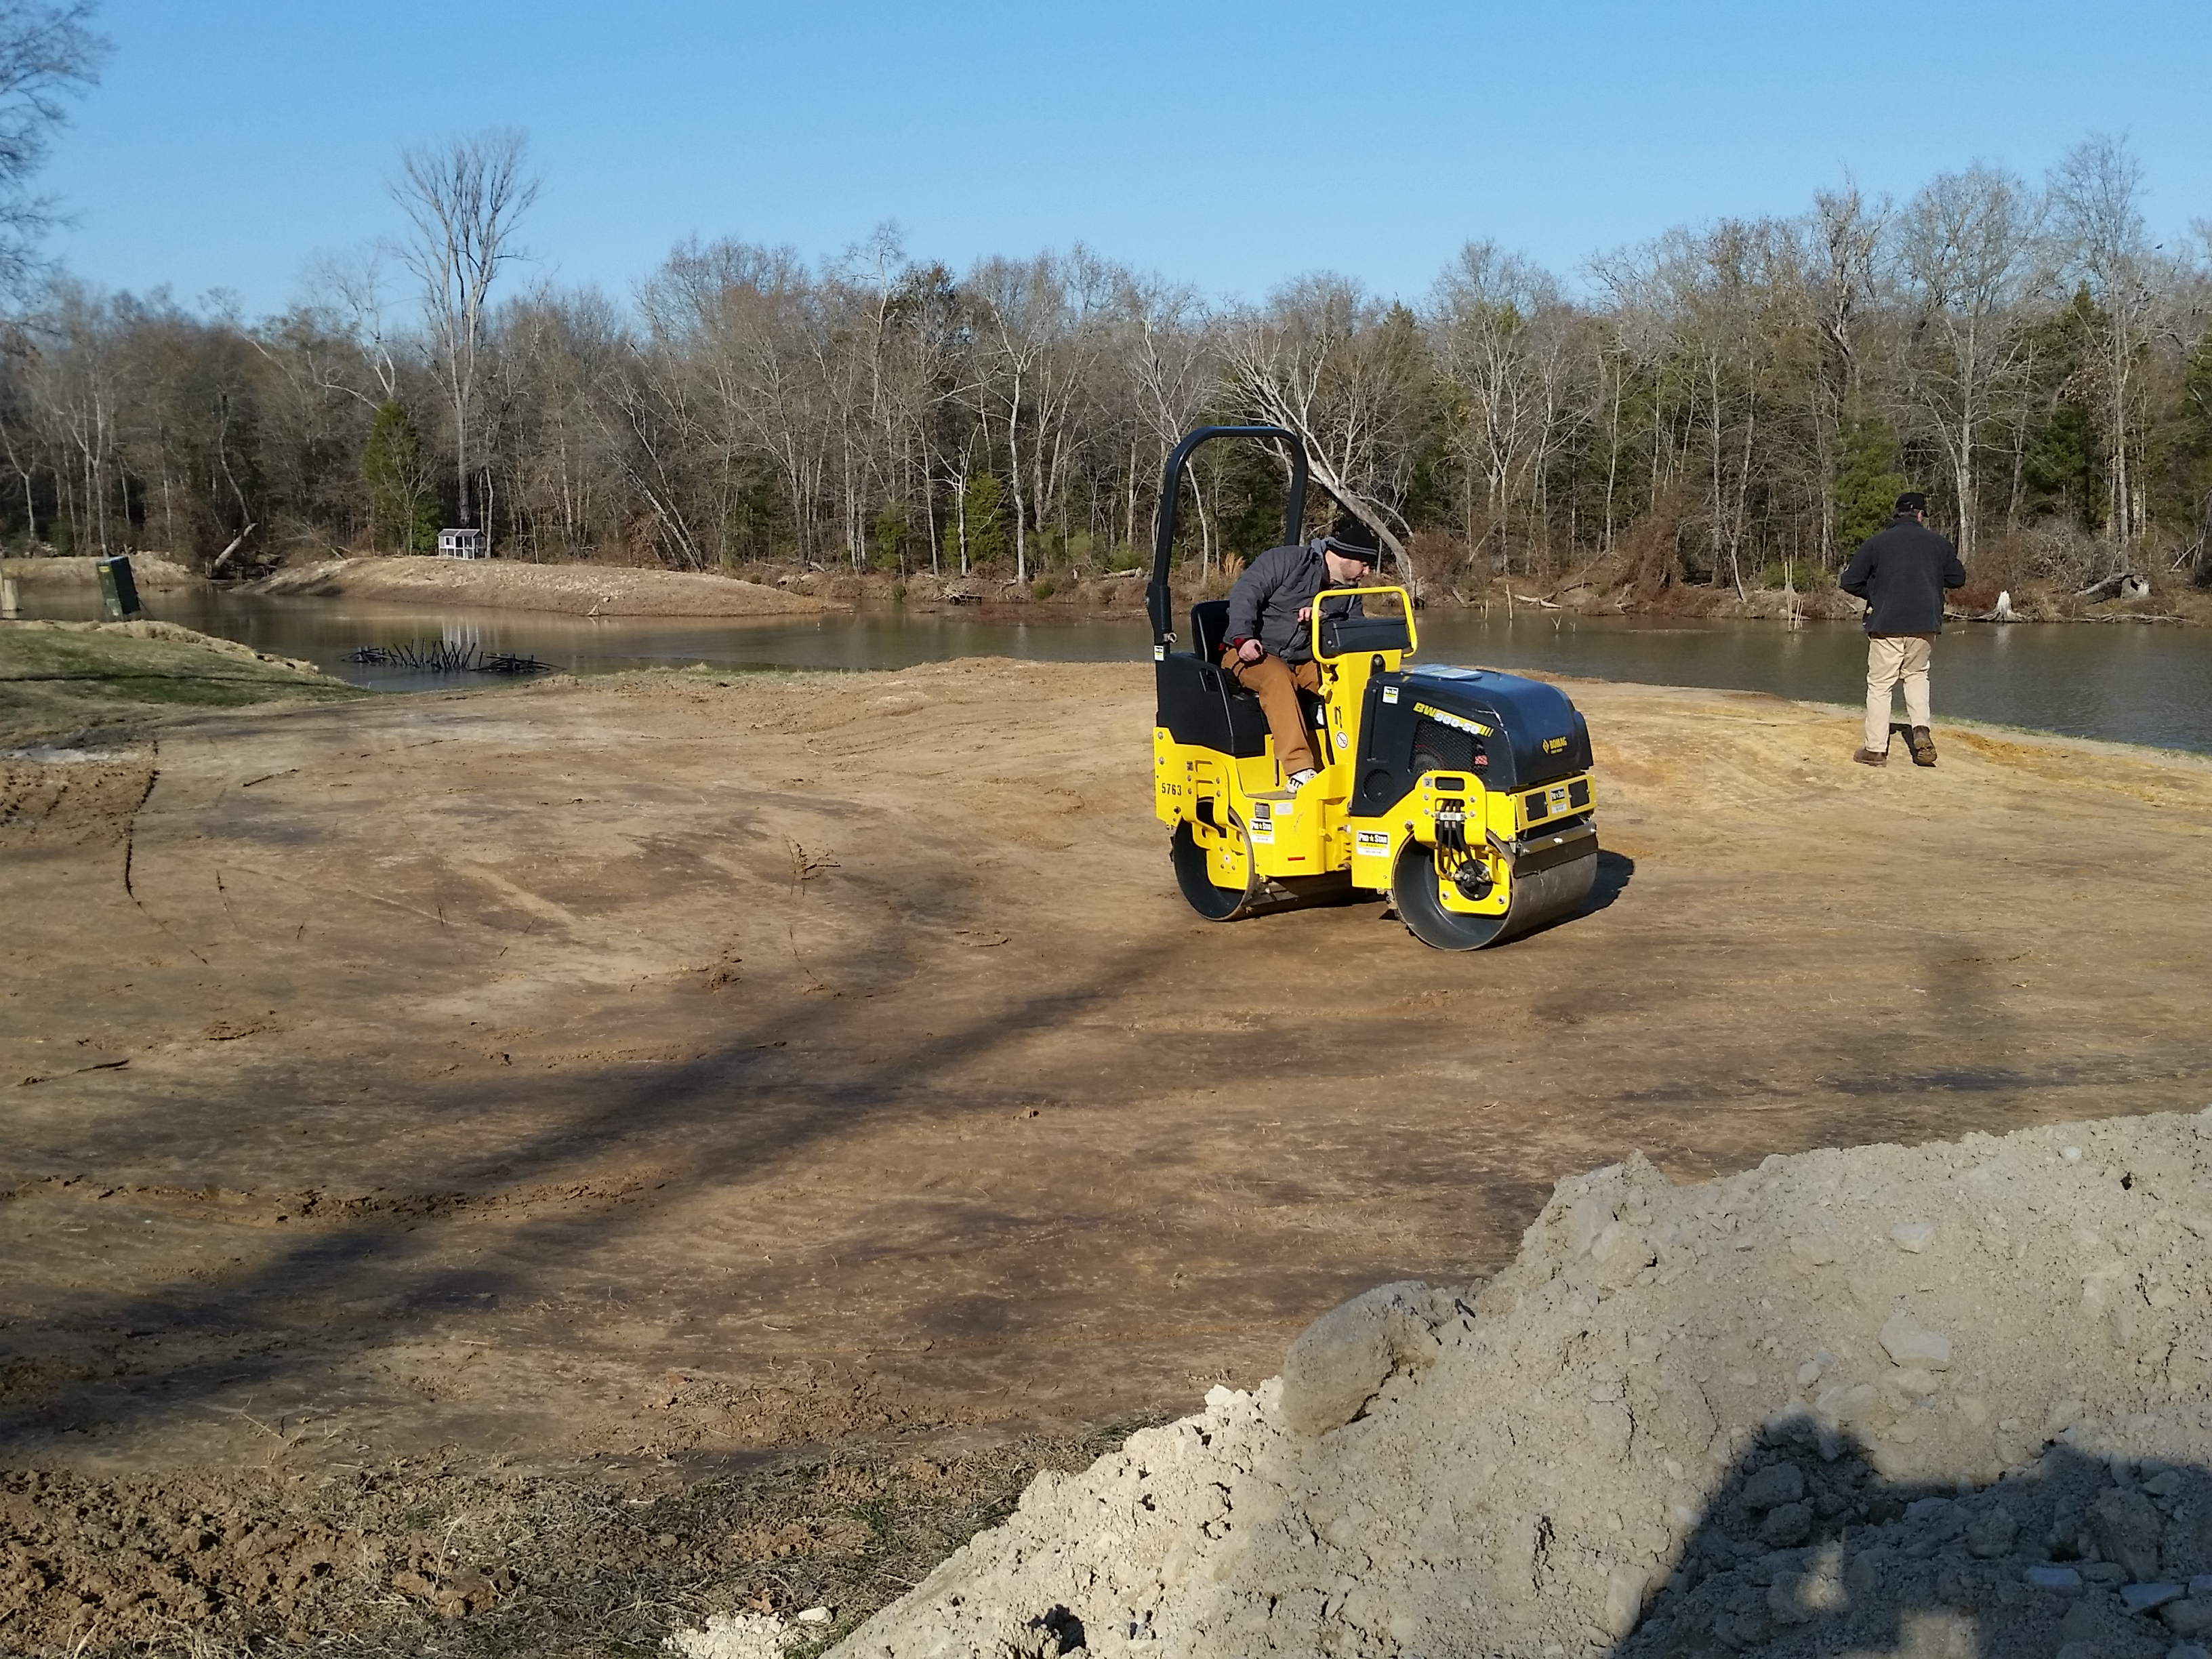
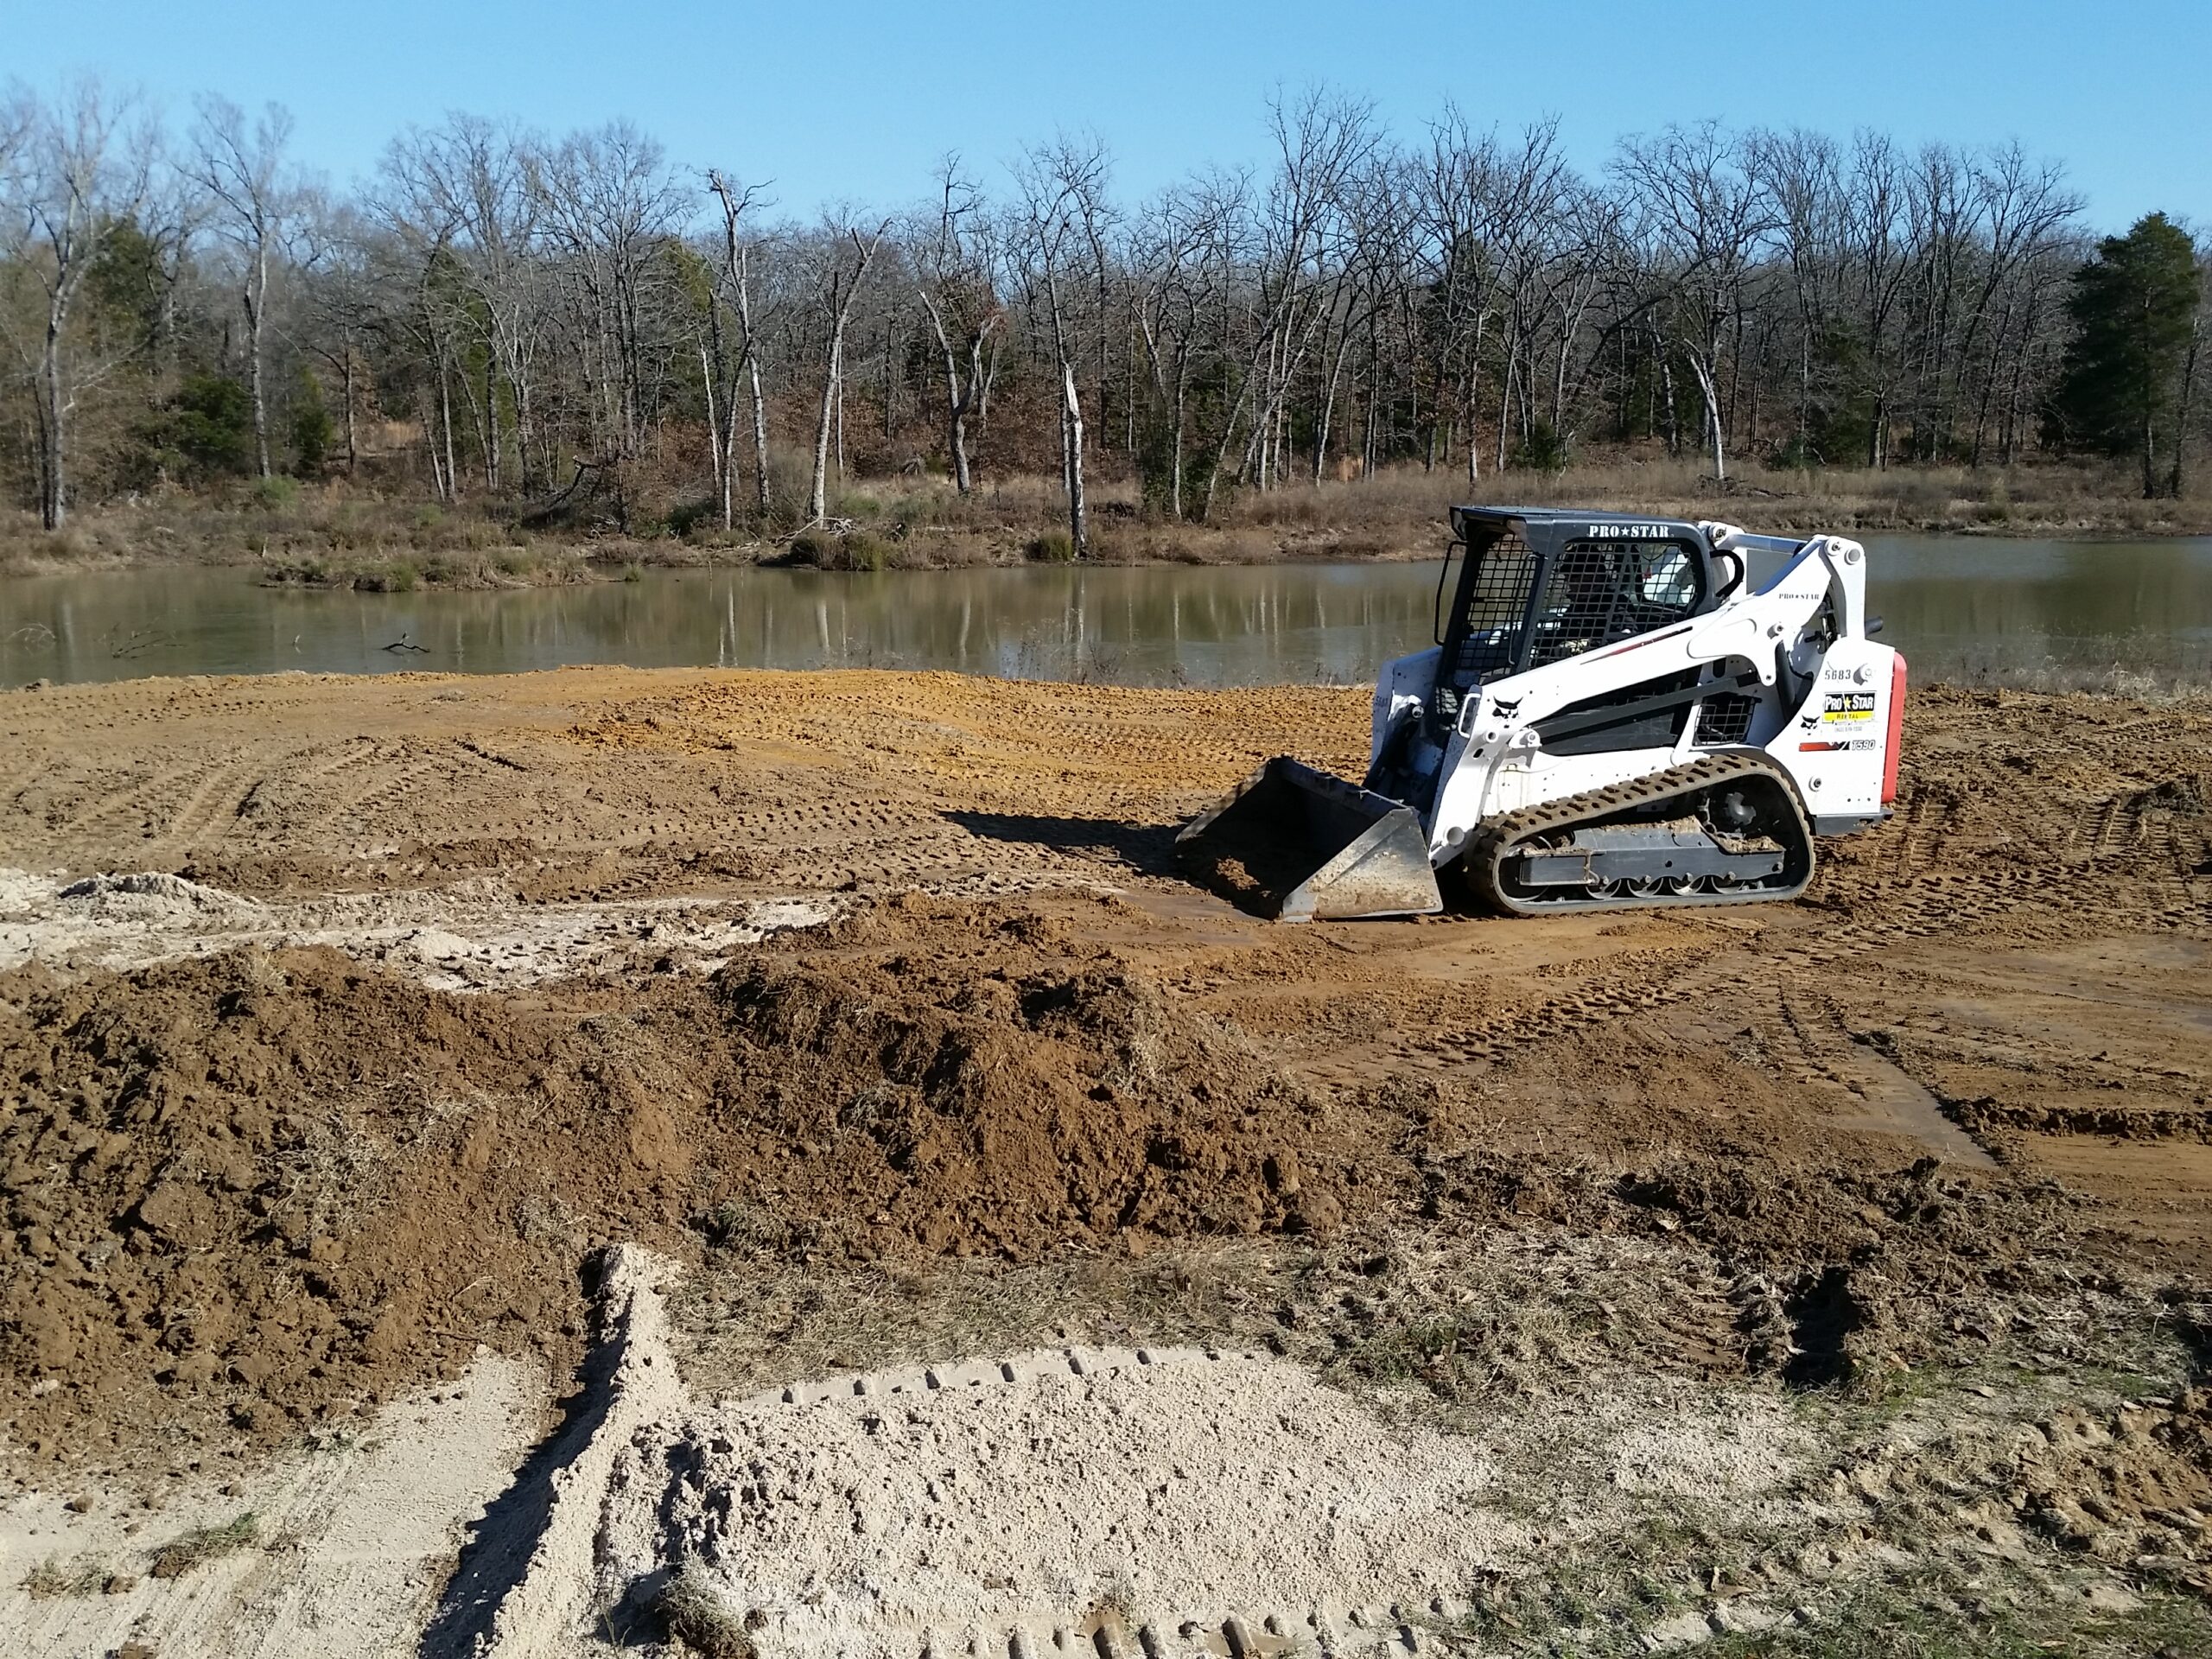
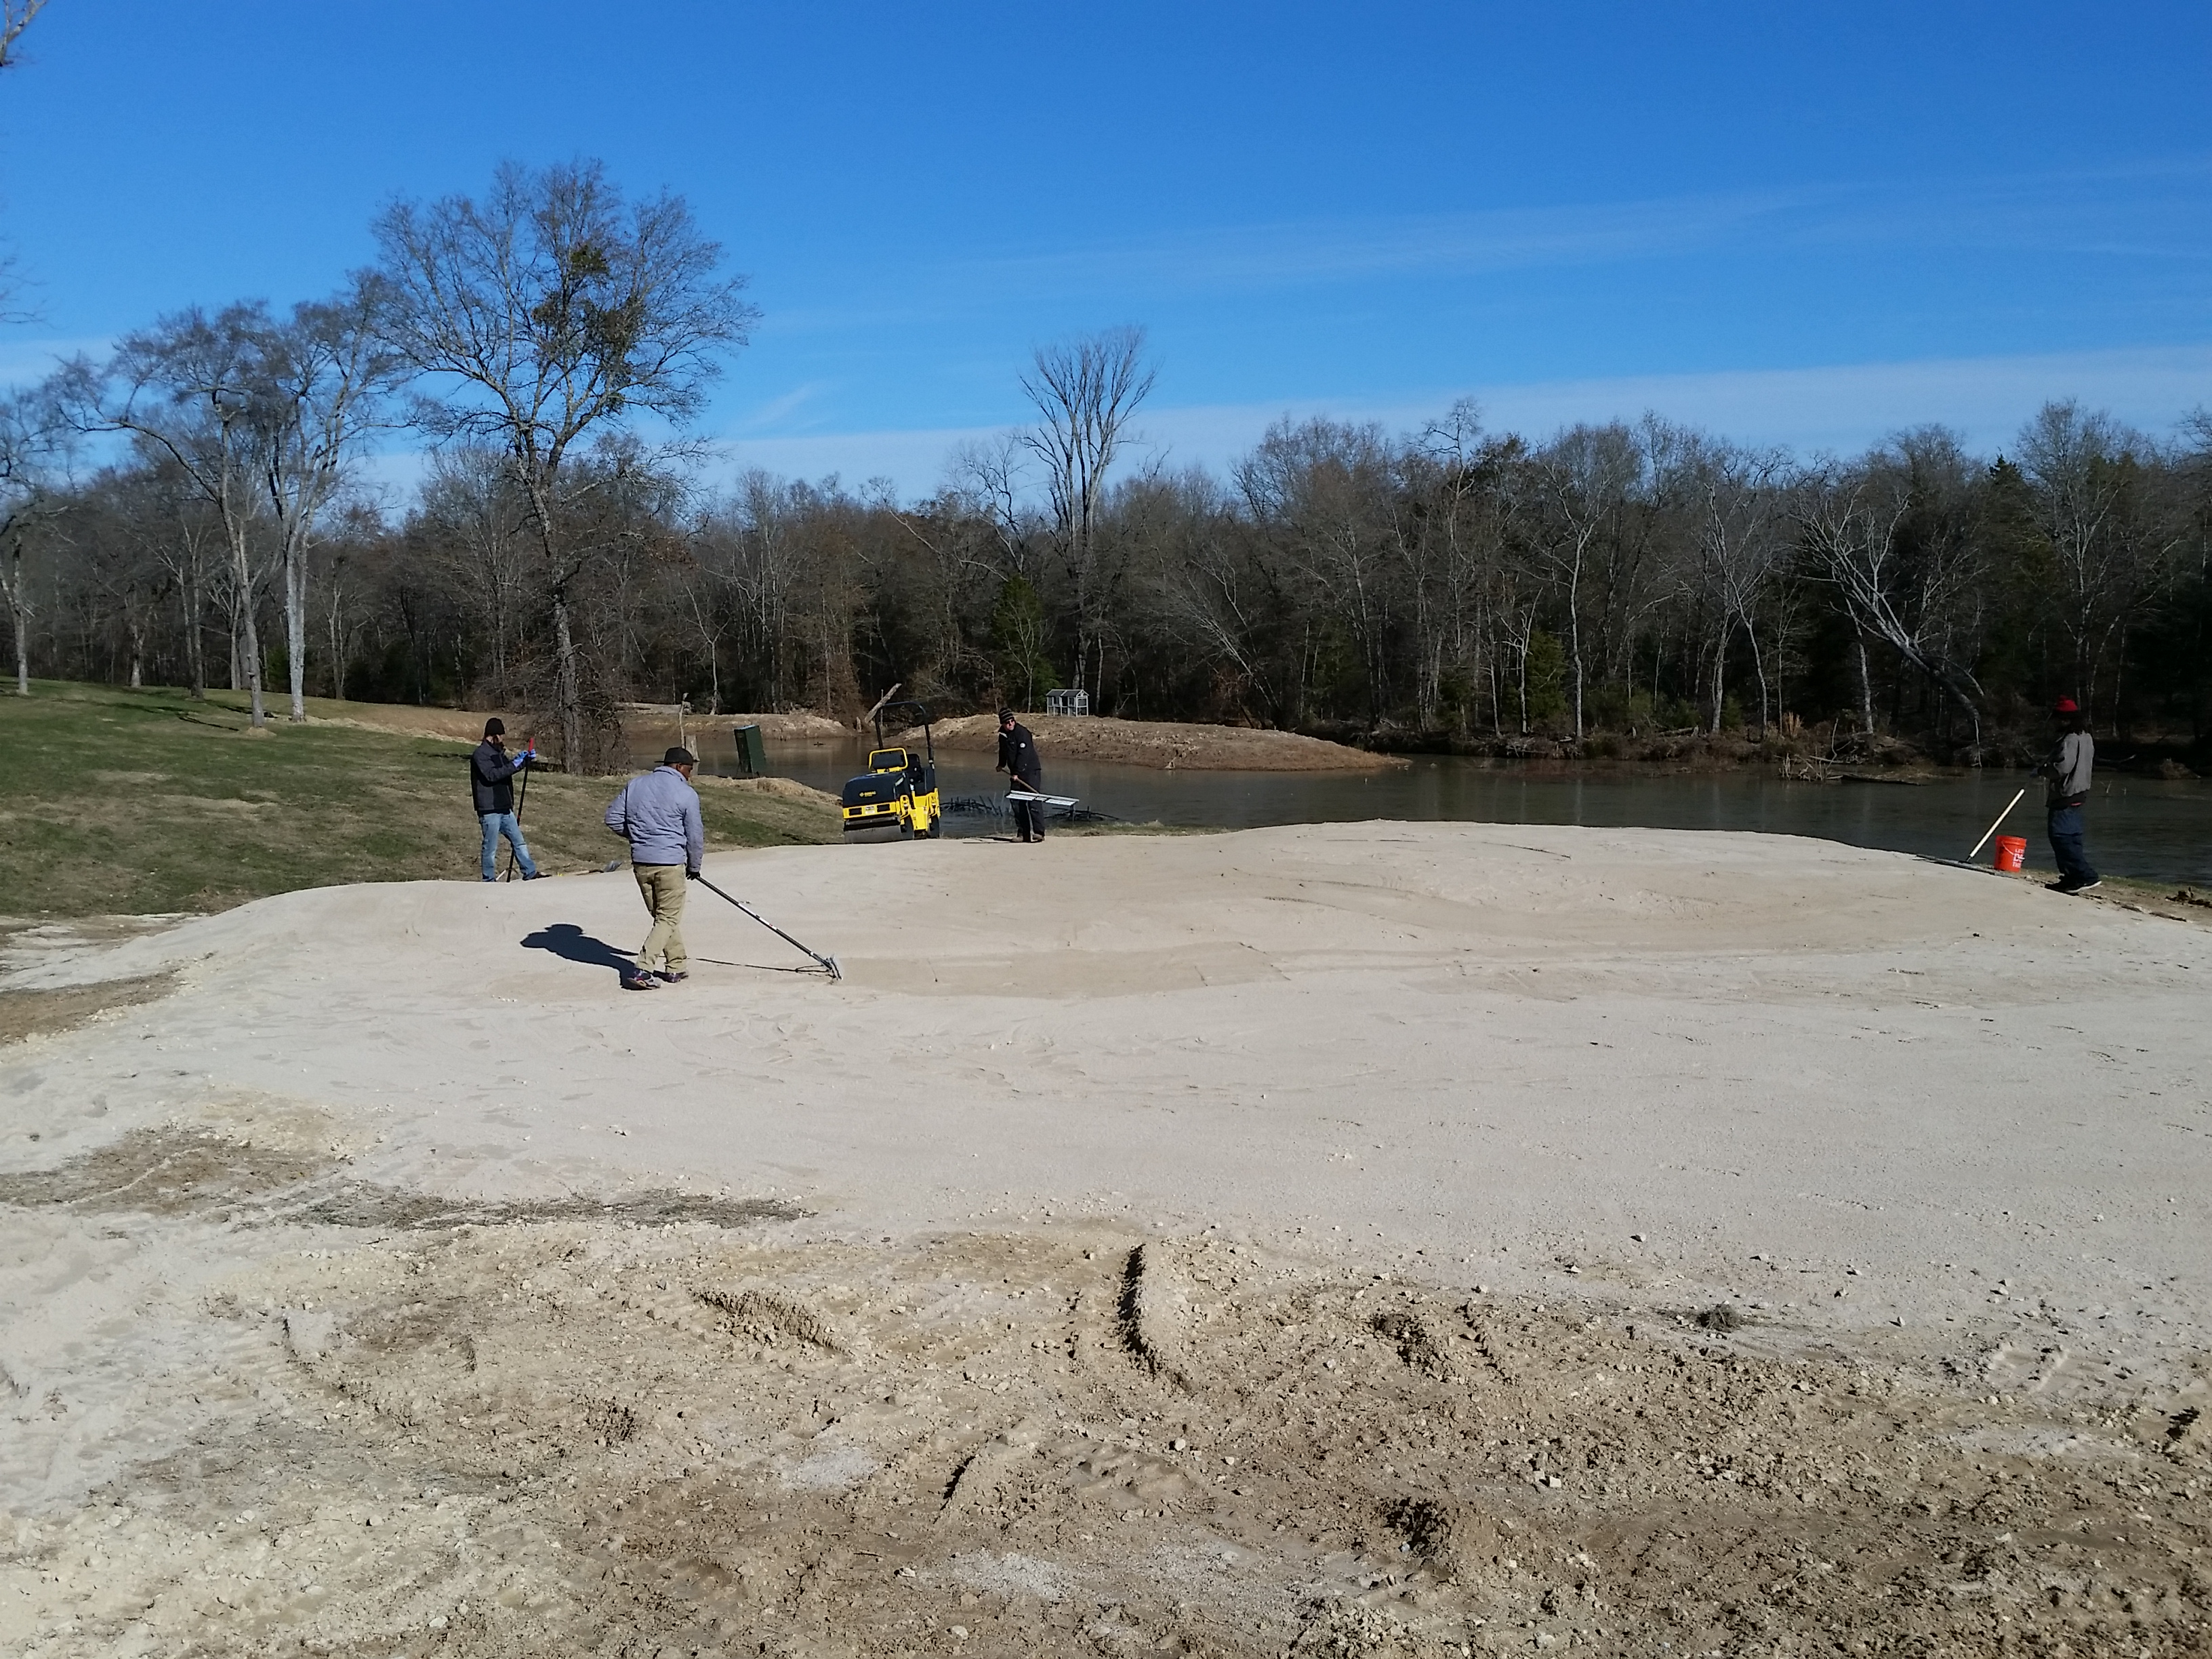
The first day was about getting all of the supplies that were needed to make progress on the job immediately. This meant working the clean fill dirt on the green location to start to form the many undulations the client wanted on their green. After we got a basic shape and form to the green we were building using the dirt, we compacted the dirt with a roller. After the dirt was compacted we proceeded to spread out the aggregate evenly across the green and fringe area. Once the aggregate was spread out it was time to once again compact the area so we can establish a strong base.
Day 2 – Base Build
The second day was about getting the screenings spread on the base to get the area as smooth as possible. Any bumps in the base at this point will cause unwanted undulations that will cause the ball to not roll naturally. So the screenings were carefully spread so as not to disturb the base layer below. They were then leveled to make sure it was all applied evenly. Once we got it leveled, we proceeded to compact the base again. After compacting it we removed any lines or creases that may have been created by the roller. In addition to the base work, our infill sand arrived on this day, and the bobcat we were going to use to unload the sand off of the truck broke. So we were forced to unload 24,000 pounds of sand by hand.
Day 3 – Cups and Turf Install
The third day was about getting the cups installed, the impact pad laid down, and the golf green turf laid and seamed together. The cups have to be cut into the base, secured, and leveled to make sure when the flag goes in, it is standing straight up and not at an angle. The impact pad is part of the reason we are able to build greens that will hold a shot from a distance. Once the impact pad was installed, it was time to lay the golf green turf. Since we want our golf greens to roll naturally the seaming for the golf green has to be very clean and straight. Once all of this was completed, we shaped the green to give the green the look and shape the client wanted.
We then proceeded to start filling the golf green with special infill sand. The sand is dispersed on the green and is then power brushed to get the grass fibers the way we want them and to allow the sand to fill in around the fibers. Finally on this day we started preparing the base for all of the tee box locations around the property.
Day 4 – Rolling and Fringe Turf
On the fourth day we finished applying the infill sand to the golf green and then started rolling the green with the roller. We started cutting and shaping the fringe area that was going to surround the green. We began filling the fringe with infill sand, and power brushing the fibers to get the fibers standing up the way we want them to. We also started to clean up the job sight of any debris.
Day 5 – Finalizing the Golf Green
On the 5th and final day, we completed filling, brushing, and shaping the surrounding fringe grass. We also installed all of the commercial tee box turf at all of the locations around the property. We continued to roll the green area to get the green as fast as the client was wanting. The weather plays a factor in how fast we can get those cold fibers to lay down. We will be making a trip back to this job site when it warms up to roll the green some more to get it at a faster speed.
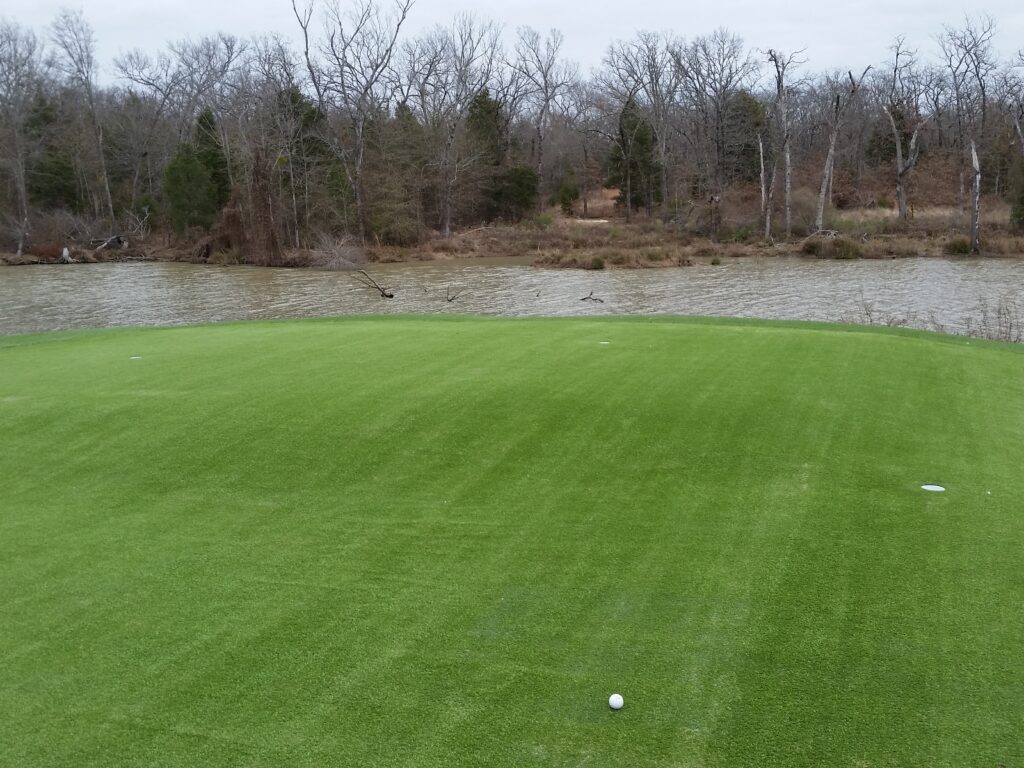
Artificial Turf Golf Green next to pond
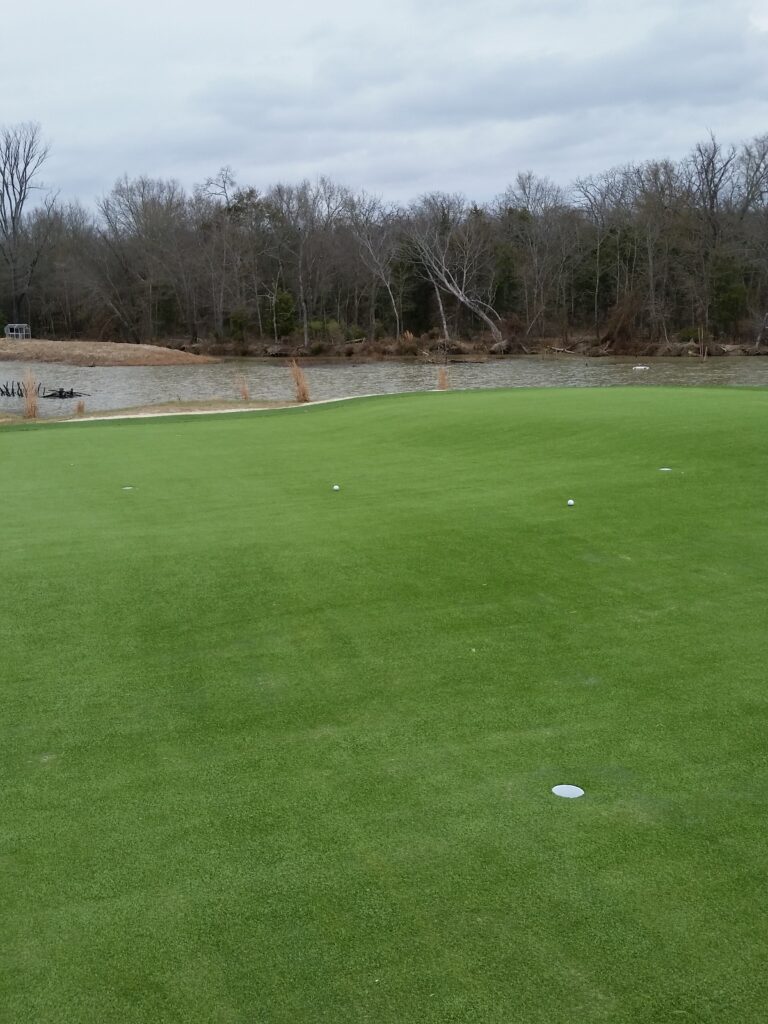
Beautiful Backyard putting green next to pond

Get in touch with Mason
I look forward to meeting you and seeing your property. Whether Commercial or Residential, our products and process will deliver a beautiful and functional installation.
Phone: (469) 771-8006
E-mail: Mason@Grass365.com

